There’s nothing inherently wrong with handing out developer access to each resource and resource group they need. You will have a mess of access rights spread all over, but you will easily revoke access by removing developers from the subscription.
If you need to manage privileges in a structured way, it is less than ideal. That is why I have developed a convention for managing access in our Azure subscription. It’s quite easy.
For each resource group, create one user group with contributor role, and use the following name format.
The name format of a user group.
Let’s break it down
Project Name and Component Name should be exactly the same as the resource group name.
Environment, I usually go with dev and prod. I have never come across a situation where I needed to hand out access specifically to test or stage. So dev means dev & test where prod means stage & prod.
Contributor is useful to have if you need to hand out access for more roles later. For me, the most common access role after contributor has been monitoring.
UG is the user group suffix, which helps you deal with these in Azure API scenarios.
There will be one user group for every resource group.
Assigning Access
You can now assign access to the user groups instead of the Azure resources directly.
Assigning user access to user groups instead of direct access to resource groups.
Managing access will become much easier.
Groups of Groups
Doing this will unlock the potential of combining user groups into larger user groups. If the project “Klabbet” has both a web and api component, we can create a user group that will give developers access to both.
We can combine user groups into more permissive user groups.
By combining user groups into larger user groups we will get better control of what kind of access a user has, without investing too much effort.
One user group assignment will give the user access to 4 resource groups.
Summary
I’ve presented you a format for access control that does not require much effort to setup, but provides lots of flexibility to take control of your access control.
If you’re interested in my convention for access control you can find the specification here.
I’ve had the benefit of stepping in to other developers’ Azure accounts, and it’s very much like opening up someones brain and taking a peek inside.
There are some bits ordered here and there, but it’s mostly chaos.
If it’s setup by someone with experience you will notice an intention of following conventions because they’ve seen first hand how quickly it gets out of hand. When there are more than one contributor, you will start noticing different patterns depending on which person set it up.
Most Azure resources are hard to move and rename. If you do something wrong you will need to delete and recreate the resource which often isn’t worth the trouble.
Here follows my convention. If you don’t like it, feel free to create your own. The most important thing is not how resources are named, but that the convention is followed so they’re named the same way.
I want you to think about the subscription as “who gets the invoice?”. Not which department is going to bear the cost, but the actual invoice. Depending on your organization structure you need 1 subscription, or you’ll need 10.
It is not uncommon to have one financial department that will receive the invoice and split the costs on different cost units. It is also not uncommon to have 4 different legal entities and invoicing them separately.
If you as a consultant are doing work for a client that doesn’t have their own subscription, create a subscription for them. You will have all the costs neatly gathered, and you can easily hand it over when the project is done.
I have two subscriptions, one for each of my companies.
Resource Groups
I structure my resource groups like this.
Let’s unpack this a bit
Project Name, is the name of the application, project, website. I place this first, because when I’m searching for a resource group I will always start looking for the name of the application.
Component Name, is optional. Sometimes you don’t need it, but most of the time there are several components in a project. A web, an API, a BI component.
Environment, will be dev, test, stage or prod. I place different environments in different resource groups to make it easier to tear down one environment and rebuild another. It helps with keeping environments isolated and access control on the environment level.
Rg, to make it easier to recognise a resource group in az cli and other API scenarios.
A note on isolating environments. It drive cost up when you won’t share app service plans between dev and test. In my experience dev/test resources are cheap and it doesn’t cost much to duplicate them. The benefit of completely isolated environments is greater than the cost of split resources.
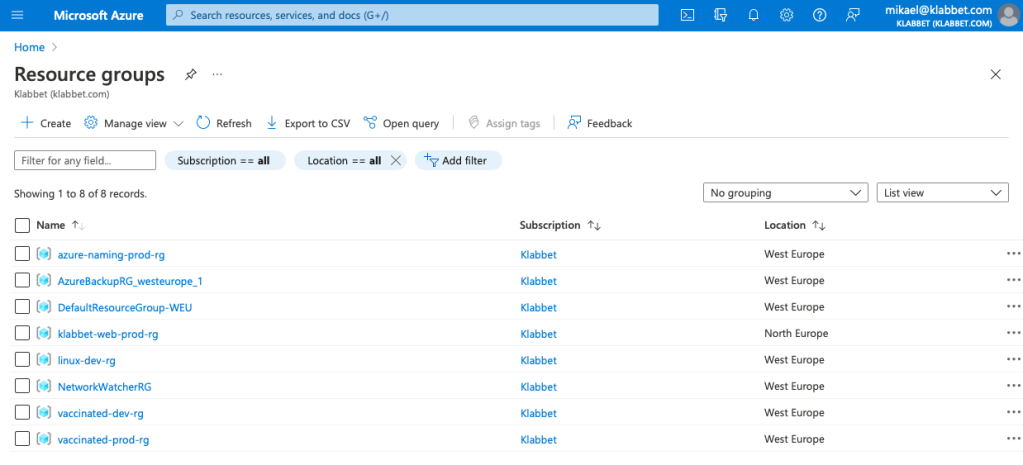
In my small Klabbet subscription it looks like this.
Sometimes Azure creates resource groups for you like AzureBackupRG_westeurope_1. Just leave it. It is not worth the trouble to change it for OCD purposes.
This scales well with hundreds of resource groups thanks to the filter functionality. Writing vaccinated in the filter box, will help me to quickly identify all resource groups belonging to that project.
Resource Names
Now we’ve made sure each resource group only contains resources for a specific application, component, environment. It will make the number of resources in each group much fewer and easier to overview.
I have a naming convention for azure resources as well. (looks very much like the previous one)
Project name, component name and environment in the resource name is useful for working with az cli and Azure APIs. The resource name abbreviation should be picked for the Microsoft recommended abbreviations. If your resource doesn’t have an official abbreviation, make your own and document it in your convention.
Don’t worry about Azure creating resources that doesn’t follow your naming convention. That is fine.
Tagging
Tagging is often forgotten, even if you’re reminded every time you create a new resource. *hint* *hint* Tagging is extremely useful. Here are my standard tags that I put on all resources.
Name
Example
Comment
Application
Vaccinated
Boss comes in and say: “I want to know exactly how much this project has cost us.” You filter cost analysis on the Application tag.
Environment
prod
Being able to split cost analysis on different environments is golden.
Organization
Klabbet
You will always host only 1 organization within this subscription, until you’re not. When you’re going to create that first cost report, you’ll be glad that you did tag Organization from the start.
Other suggested tags “Business Unit”, “Component”, “Country” if you have an org with different departments, work on different components or is multi-national.
Tagging is for reporting, so make sure that you think of what your boss might come ask of you when you setup which tags are mandatory.
Now we can filter or group our expense reports on these tags.
Vaccinated was one failure of a project. How much should we blame marketing department for that!? Well 600 SEK worth!
Summary
This blog post has been going through my preferred way of getting order in my Azure account, making it easy to find things and tagging things to make reporting easier.
This might not be your preferred way, but it is has proven itself useful to me.